
I started to post this Sunday night, but whenever I added an image to my blog, WordPress seemed to just drop it willy-nilly where ever, and my blog post looked so disorganized and slovenly, I couldn’t in good conscience go live with it. My intention was to post a step-by-step look at how I made my hardcover Haiku Love book, but I also wanted you to be able to follow along, Dear Reader. I had to conduct a few hours of research in order to bring you this blog. Hopefully, my newfound skill with HTML tables will be sufficient to show you how I made my book.
 |
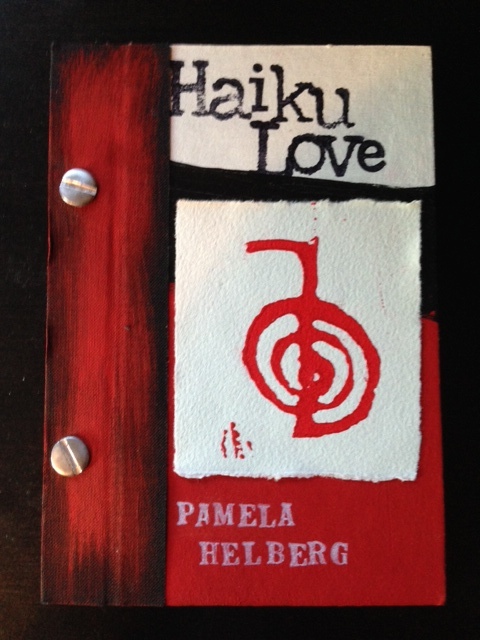 |
| TLW reading Haiku Love | The finished front cover |
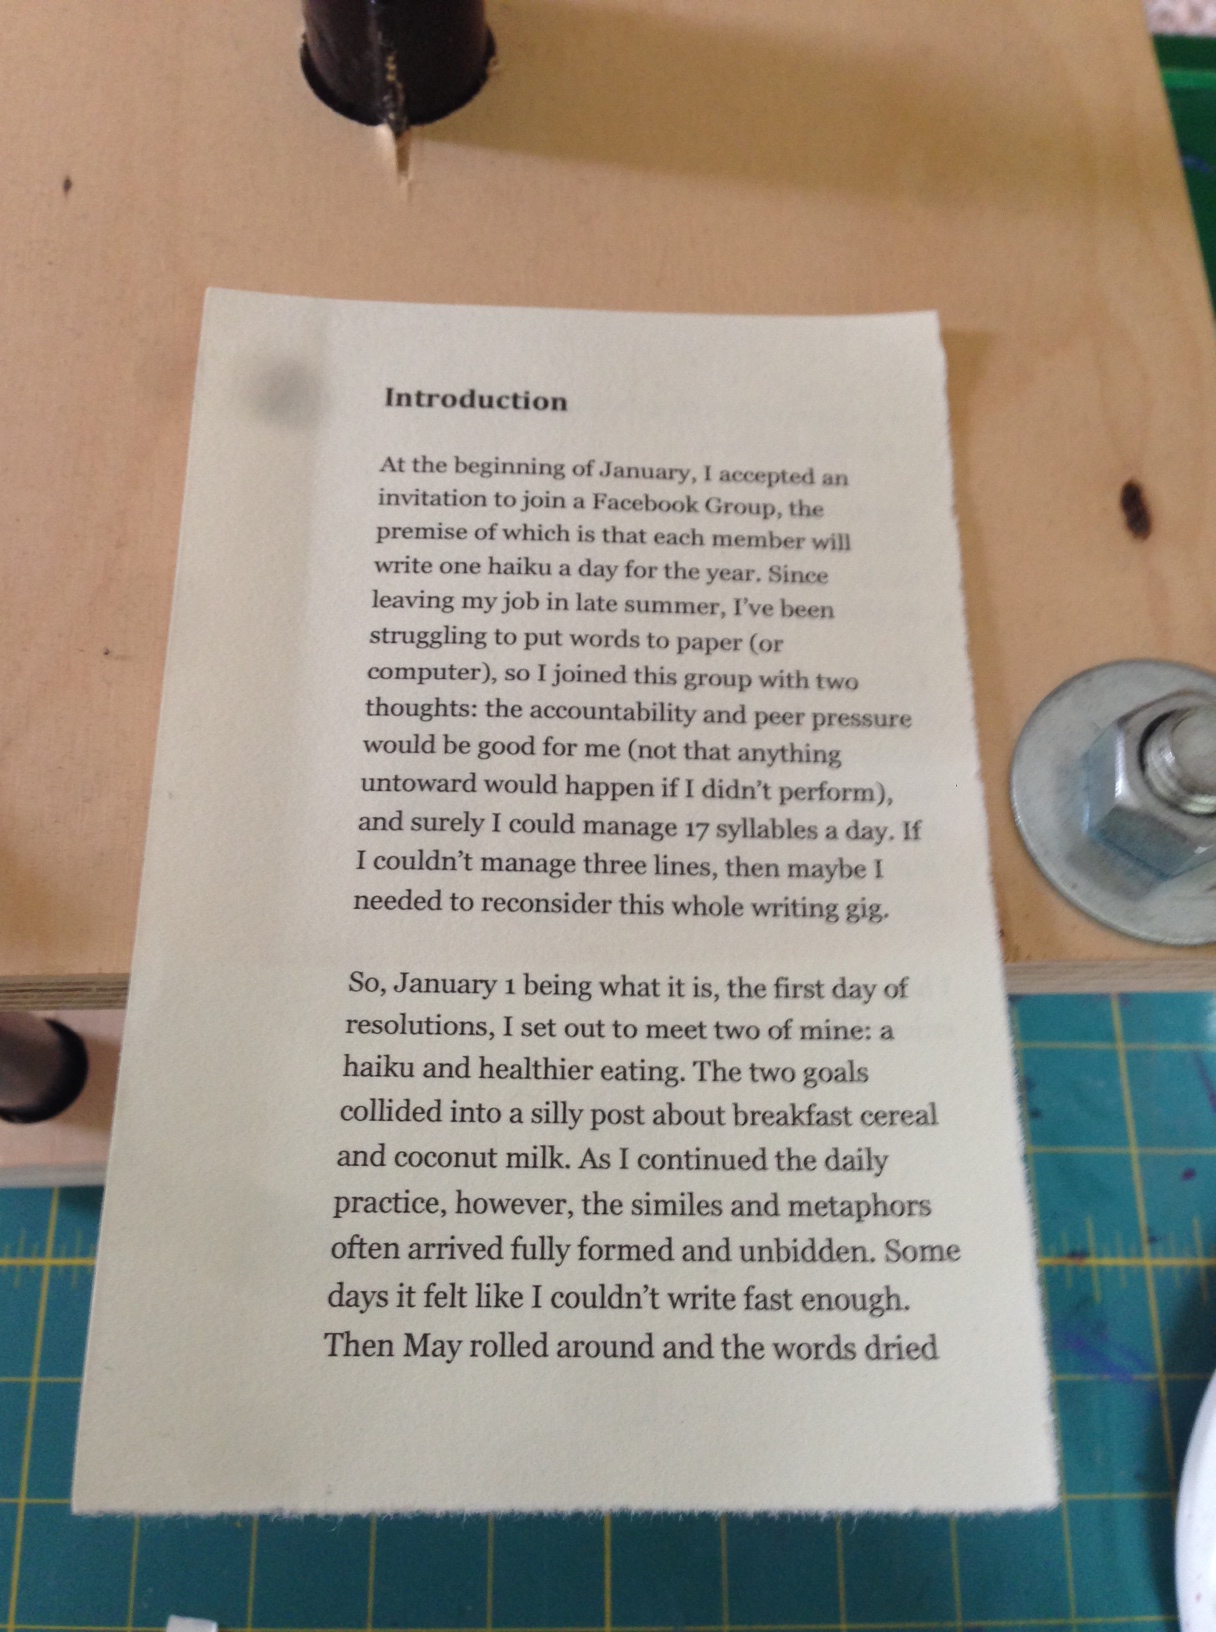
The first step in the process is printing out the poems. Sometimes, when I have plenty of time and lots of patience, I hand stamp the poems. But today I had neither time nor patience, and I wanted the book to look a bit more polished, so I decided to print it out on some Arches watercolor paper. I had already done the layout in Word last weekend before I uploaded it to KDP, so I just needed to cut out the paper to 4×6 inches and load up the printer tray.
After printing out page 1 and 2 back to back, I realized I was going to need to adjust the margins so that the odd numbered pages had a one inch margin on the left and the even pages had a one inch margin on the right, if I wanted to print on both sides.
 |
 |
I printed all of the odd pages first, with a wide left margin, then flipped the paper over in the printer, adjusted the margins for a wide right margin, and printed all of the even pages. Amazingly, it worked! All of the pages came out in the right order and right side up. I was ready to start working on the cover.
 |
 |
| I cut out the book board | I paint the book board |
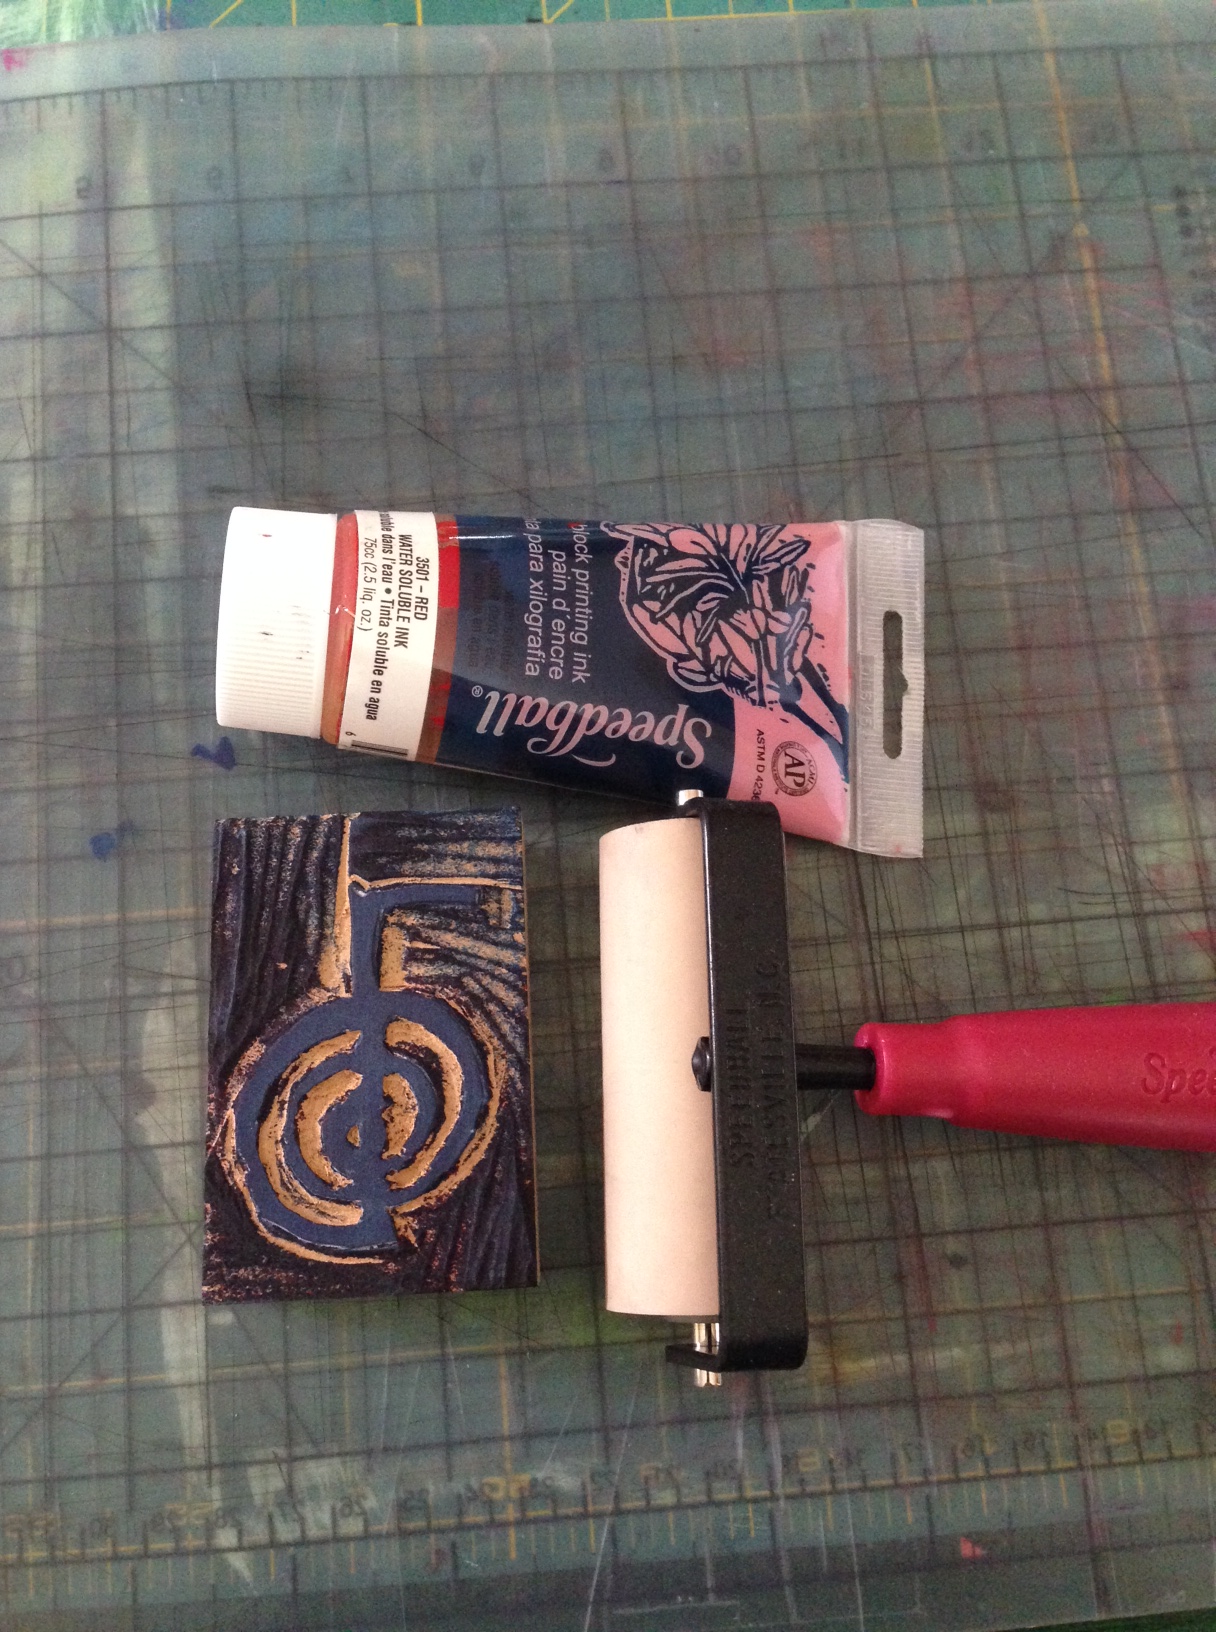
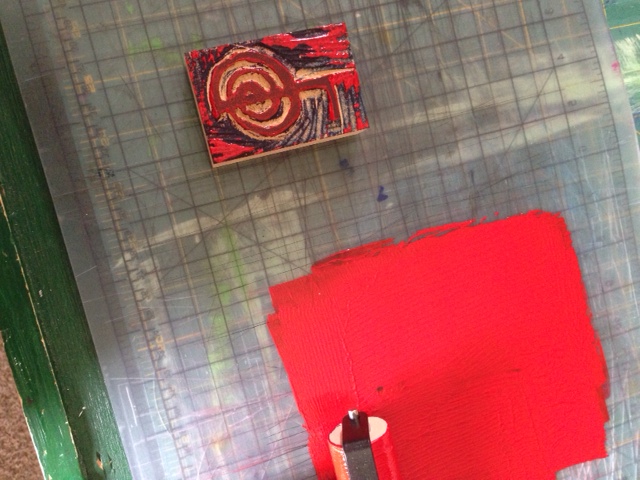
While the paint dried, I got out my carved blocks and ink so I could make some more prints of the Cheiko Rei symbol to glue to the book cover so it more closely resembled the cover on the ebook version. I really only needed one print, but it’s not easy to ink up the brayer for just one print, so I made a few.
 |
 |
 |
 |
While the paint and ink dried for the cover, I turned my attention back to the pages and the binding. Bindings are always tricky–I prefer to make books with actual covers that open and attach to the pages, but this is not easy with handmade books. I decided to do a combination: a Japanese stab binding to keep the pages together initially, that I would then combine with a screwed down cover. In order for the cover to open, I needed to use book paper to attach the parts of the cover. But first, I had to make the holes in the pages for the stab binding.
 |
 |
| I use an awl and a rubber mallet | Clamps keep the pages in place |
 |
 |
| I use the book press to hold the pages | I tie off the binding with a square knot |
Now it is time to assemble all of the pieces. I use rubber stamps and archival dye ink to stamp the title and my name onto the cover, and I use rubber cement to attach the book paper to the cover. My friend Susie the art teacher taught me how to properly apply rubber cement–maybe everyone knows this, but I didn’t. First I coat both surfaces with the glue, let it dry and THEN press the pieces together for a tight adhesion. I have to be very careful to make sure everything is aligned before pressing it all down, though.
 |
 |
| I end up having to paint over my name as I’ve not left enough room on the left for the book paper. Below, end paper makes it look more finished |
I add a touch of red paint to break up the unrelenting black |
 |
I wish I had more pictures of my process. I get so wrapped up in the process, in the creative problem-solving as I go along, that I forget to stop and document what I’m doing. The final step is a bit unorthodox, but effective for my needs. I align the previously bound pages between the covers, clamp it down (using scrap book board to protect the cover from the clamps and to make for clean holes), and drill two holes for the screws I will use to finish the binding process. I love the way the screws look on the binding.
|
 |
| The front cover | The back cover–sadly I inadvertently flipped the cover before I drilled and ended up with the inside being out and with the much nicer outside being in. Always check your work! |
I was pretty happy with the way this turned out–but, always the perfectionist, I printed out two more sets of pages yesterday and built another cover. It turned out okay, but still is a long way from the finished product I have in my imagination. The paper I used in this version is really too stiff for the binding I started out trying to use, so I had to improvise. I ended up drilling holes that I then couldn’t use and had to cut off. I had to abandon my original cover idea and ended up with this three-ring improvisation. It’s not great, but for the stiff paper, it works. Stay tuned for further versions (and more documentation).
 |
 |
 |
 |

Looks great, Pam. Do hope I will have a chance to see it and read it!
Wow, impressive Pam! Such skill and patience. I became anxious just reading about the process and looking at the photos. The book is beautiful, though I believe the haiku are even more so…
That means a lot coming from a poet such as yourself, Victoria. Thank you 🙂
Amazing work, Pam! Your abilities are, seemingly, endless. Love the progressive photos.
Thanks Susan 🙂 Next time I will take more pics as I work.